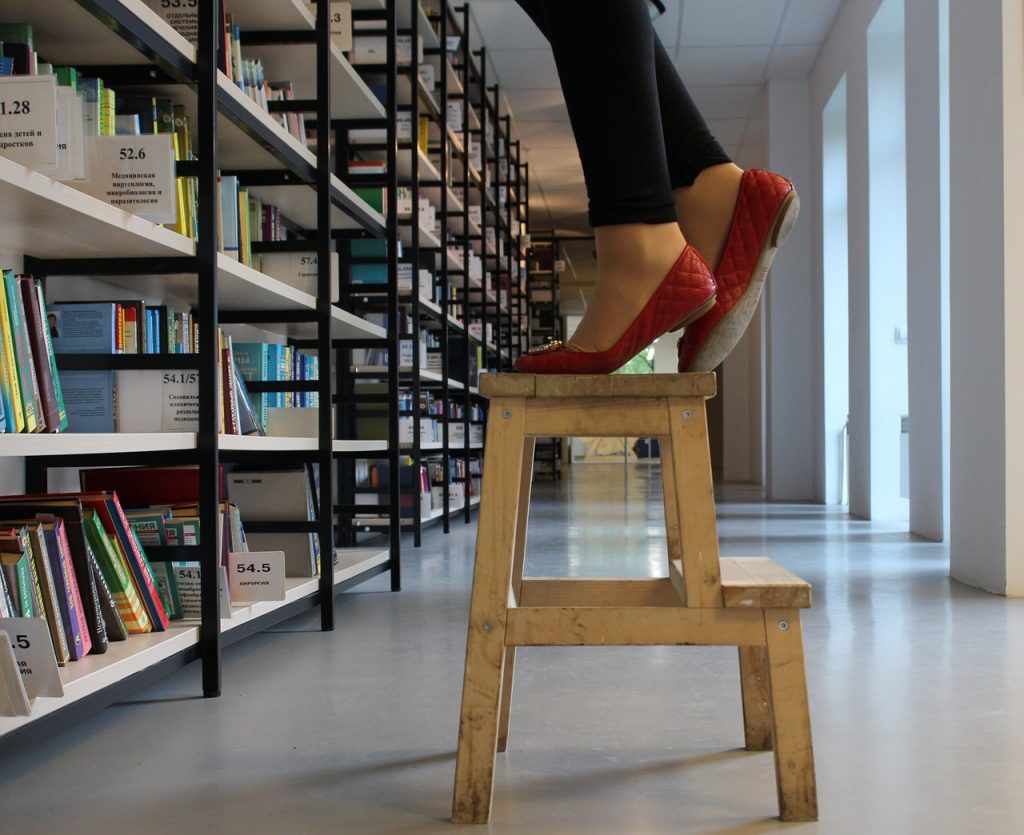
An underappreciated piece of furniture? Accessory? Whatever it is, step stools are one of the most versatile and useful home pieces you can have.
Fun fact: Benjamin Franklin, whom you might remember is a founding father of America, actually invented a step stool that doubled as a full-fledged chair.
This project takes its inspiration from Old Benjie’s design, creating a four-step step stool with the middle step acting as a hinge. When the stool opens, the top pivots down onto the floor, with the rear legs becoming the chair’s back and the middle step becoming the seat itself. Pretty nifty, we’d say!
This DIY step stool is designed to be beginner-friendly. Yes, it does involve hinges and it does involve thinking of designs from a foldaway point-of-view, but think of it as an exercise in critical thinking and a chance to improve your carpentry skills! If you love woodworking, this is also a good opportunity to think about investing in your own, small woodworking shop in your garage (perks of having your own home, after all!)
This project does require the use of power tools, so if you’re not familiar with how to use a jigsaw or a router, it’s best to practice first with a professional woodworker giving you some tips. And remember: don’t even think of starting this project if you don’t have any of the pre-requisite safety tools! Even Benjamin Franklin had bifocals on when he was woodworking (Probably)!
DIY Step Stool for Beginners: Materials and Tools
Because this project is going to take on a lot of weight, you’re going to want wood that’s durable and strong. We’d recommend some reclaimed wood or salvaged wood. But barring that, your regular, run-of-the-mill red oak is perfect (not to mention readily available in most lumberyards). Walnut and Hickory are also great choices.

You could also get away with using maple, but avoid using soft woods like pine or cedar. Yes, they look nice, but their cellular structure is too soft to hold the threads of the screw joints securely.
As for tools, you’re going to need a basic jigsaw and router. You might be familiar with a jigsaw, but a router might be a more specialized tool that you might not have in your workshop. Routers are basically used to create trenches and ditches on wood surfaces, and they’re perfect for making dado joints or anything that would require one surface securely sliding on another.
Other than those, you’re going to need some drills and drivers and their drill bits, paying special attention to the ¼-in. quarter-round bit and a ¾-in. dia. straight bit. You can also opt for a combination bit with a tapered twist bit and an adjustable counterbore cutter with a depth stop, especially if you’re thinking about plug-covered counterbored screwholes. Your shop should also have your requisite chisel, sander, and plane.
As for screws, you’re going to need two types: 1 ½-in. No. 8 fh screws and 2-in. No. 8 fh screws, along with 3/8-in. wooden plugs, and of course wood glue or epoxy. You won’t need much adhesive, however: most of the parts here will be assembled using screw-fastened butt joints and a few dado joints.
Of course, if you’re new to carpentry, your joints might not be perfect, so if they’re loose, augment it with some adhesive. Remember: make your joints so tight and secure that your adhesive becomes unnecessary (but welcome) precaution.
DIY Step Stool: Basic Project Overview
We’ve broken down this project to 6 sequences to make it easier to assemble:
Step 1:
Adhere the side subassemblies using screws (and a bit of glue if necessary)
Step 2:
Use your router to cut out dado joints on the steps.
Step 3:
Adhere the front step and the seat rail to the sides.
Step 4:
Adhere the back step, the slats, and the top step-stool step to the sides.
Step 5:
Join the two seat halves with hinges (you can go with garage door hinges if you want to have a more ‘industrial’ look).
Step 6:
Sand down and varnish the subassemblies, then attach the back and front sub-assemblies to one another, and enjoy!
DIY Step Stool Assembly
As far as assembly goes, this DIY step stool is perfect for beginners because of how simple it is. However, for it to work, your pieces and subassemblies need to have precise cuts and joints to fit together properly. To make it easier on yourself, we suggest drawing up the design from a side and top view so you have a better idea of what it looks like from all angles, not to mention give you an idea of the actual shapes and sizes of your parts.
Use a rounded template to create your curved parts so that all the curves on your DIY step stool are uniform and even. We used a ¼-in. thick piece of plywood that we cut down to shape using a jigsaw as a template, making sure to sand the sawn edges for a smoother finish.
For the legs of the step stool when it’s in chair position, you can leave it long and just cut it down to the proper length after the parts are joined if that makes it easier for you. The same can be done to the upper ends of the front side.
For the seat shapes, use a jigsaw to cut out the seat and sand down the edges. Plane the adjacent edges with a 22 ½-degree bevel, then use a chisel to cut hinge mortises so you can join both halves of the seat. Use your router to cut out a ¼-in. round along the ends and around the front of the seat pieces.
As for the plugs, try to cut them flush using your chisel. Start off with very light cuts first so you can get a feel of the wood’s grain direction. If you don’t take this precaution, you run the risk of tearing out bits of the plug below the surface of the wood you’re working on.
Cutting Out the Step Joints
The step joints for this project are probably the most difficult part. To make it easier on yourself, use your router to cut out your dado joints for the steps after you join the side components to each other. When using your router, use a straight board to help you get as straight a line as possible, and use clamps to secure your board and side assemblies to your workbench.

You can also use a piece of scrap wood taped to the legs of the stool to give your router more support while you’re working. Remember: this project’s success depends on the accuracy of your cuts, so take every precaution you can to make sure you get the smoothest, straightest, most even lines that you can get!
This is also a good opportunity to learn how to make your own jigs, which is a great home construction tip when you’re on a budget.
Once all that is done, it’s just a matter of putting on some varnish and wood finish on the step-stool-chair, and you’re done! If you do this DIY step stool project, hit us up in the comments below and let’s all make Benjamin Franklin proud!